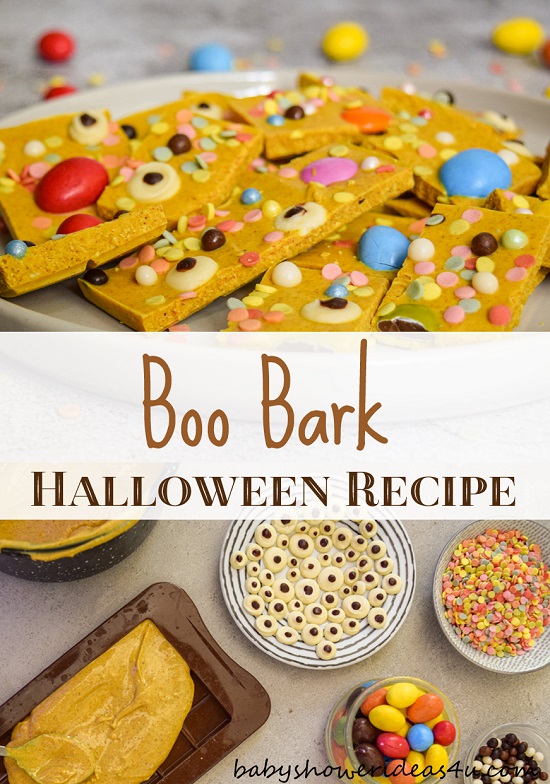
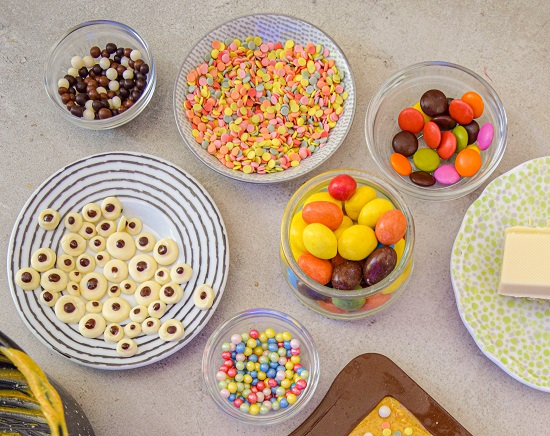
Pink and Blue Chocolate Waffles Recipe
New babies are SO much fun to celebrate! Back in the day, a new Mum and Dad would announce the news to family and friends, host a baby shower to celebrate, then eagerly wait until the big day when their little bundle arrived. These days, there’s typically another celebration thrown into the mix: gender reveal parties!

Gender reveal parties can be just as exciting as the initial pregnancy announcement! Somehow it makes the newest addition to the family seem that much more real, that much closer to arriving. And it’s so much fun to let yourself go overboard with all of the pastel pinks and baby blues afterward!
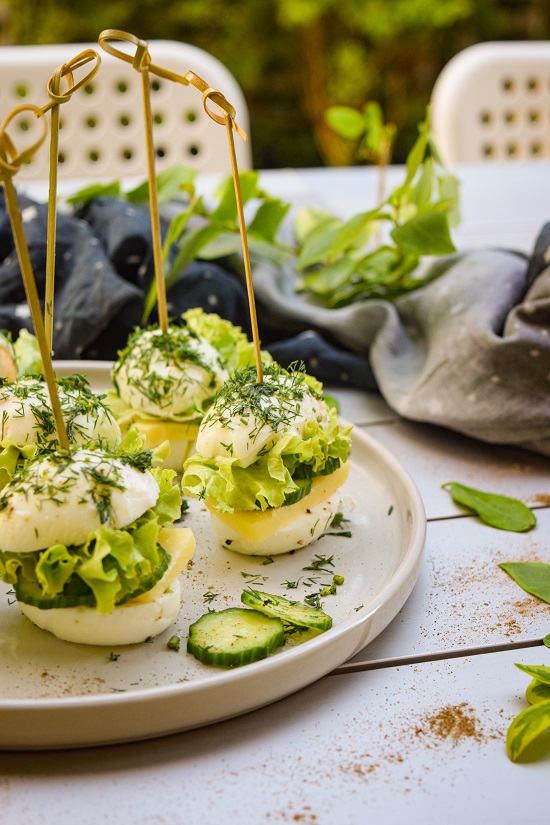
So what do you serve for food and drinks at a gender reveal party? Since they are a relatively new concept, proper etiquette hasn’t been established quite yet – which you can use to your advantage! It’s really up to you whether you serve a full meal, appetizers, or just snacks. But don’t forget the one thing you need for any party: dessert!
Chocolate Waffles Ingredients:
Waffles
1 Cup all-purpose flour
¼ Cup cocoa powder
2 Tsp baking powder
Pinch of salt
1 Egg
2 Tbsp coconut sugar
½ Cup milk
¼ Cup melted butter
1 Tsp vanilla extract
Blue topping:
¼ Cup white chocolate, melted
1 ½ Tsp blue spirulina powder
Sprinkles
Pink topping:
¼ Cup white chocolate, melted
1 ½ Tsp beetroot powder
Sprinkles
Wooden sticks

Instructions:
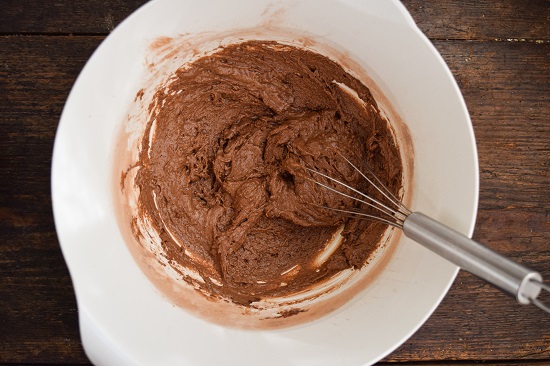
Step 1. In a large bowl, add flour, cocoa, baking powder and salt. Mix well and set aside.
Step 2. In a separate bowl, whisk together the egg, sugar, milk, butter and vanilla.
Step 3. Transfer the dry ingredients into the wet mixture. Stir well.
Step 4. Lightly coat a waffle iron with cooking spray. Using a teaspoon or a small cookie scoop, ladle batter into the iron and cook for about 3-6 minutes.
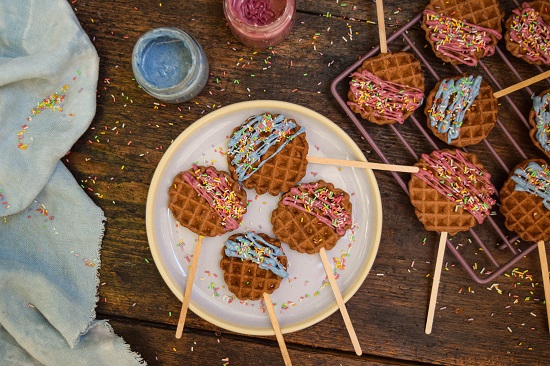
Step 5. Prepare the blue and pink topping by mixing the white chocolate with the natural dyes.
Step 6. Insert a wooden stick into each waffle. Drizzle with blue and pink chocolate. Top with sprinkles. Serve!
These dessert recipes are perfect for all the boys and girls. The Waffle Sticks will add a sweet crunch to the day, and if waffles are not your thing, we have a Pink and Blue Bars recipe below which are tasty enough to keep all the guests coming back for more. But here’s the best part: neither of these recipes uses artificial food coloring! They’re completely safe for the Mom-to-Be and an ideal choice for guests with any food dye restrictions.
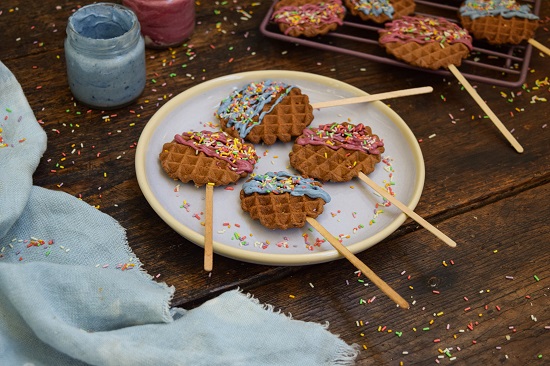
How do these desserts get their perfect pinks and beautiful blues? Instead of using drops of food dye, the recipe uses natural ingredients like spirulina powder, pitaya powder, and beetroot powder. All-natural and all-around delicious!
These sweet treats will make the gender reveal day that much sweeter. No matter which color is revealed in the end, a delicious dessert is just the thing you need to celebrate!

Pink and Blue Bars Recipe


Ingredients:
Crust
1 Cup ground blanched almonds
1 ½ Cup oat flour
½ Cup honey
1 Cup almond butter
2 Tbsp coconut oil, melted
½ Tsp vanilla powder
½ Tsp salt
Pink layer
2/3 Cup white chocolate, chopped
50 ml heavy cream
1 Tsp Pink pitaya powder
Blue layer
2/3 Cup white chocolate, chopped
50 ml heavy cream
1 Tsp blue spirulina powder
1 Tbsp chia seeds

Instructions:
Step 1. In a large bowl, add ground almonds, oat flour, vanilla and salt. Stir well. Add the remaining ingredients for the bars and mix until dough forms.
Step 2. Transfer to a lined 8×8-inch baking dish and spread well. Place in the fridge while you prepare the pink layer.
Step 3. In a small saucepan, add the heavy cream and the pink pitaya powder. Stir well and bring to a boil. Remove from the fire, add the chocolate and stir until the chocolate melts. Pour over the crust and refrigerate until firm. Do the same with the blue layer.
Step 4. Slice into bars and sprinkle with chia seeds. Enjoy!