What and How to Print Party Printable
Most of the party printable you purchase online can look quite confusing to assemble especially if it’s your very first time. It can be overwhelming when you receive 30 pages of printable. Where do you even start! First thing to do is to glance over all the pages and understand what they are used for. If it’s a full party package, you may receive few options for party favor. It could be a template for a box, bag, thank you tag, treat topper and such. You don’t really need them all, so decide first on what favor you are giving out and print the template that would be appropriate for it. For some party printable files, you’ll need to print in quantity based on the number of guests. Examples are water bottle wrappers, party hats, chip bags and favors.
Here are some examples of what you might receive in your party package:
Happy Birthday Banner
Thank You Tags
Water bottle wrappers
Small Favor Box
Candy bag topper
Food labels
Place cards
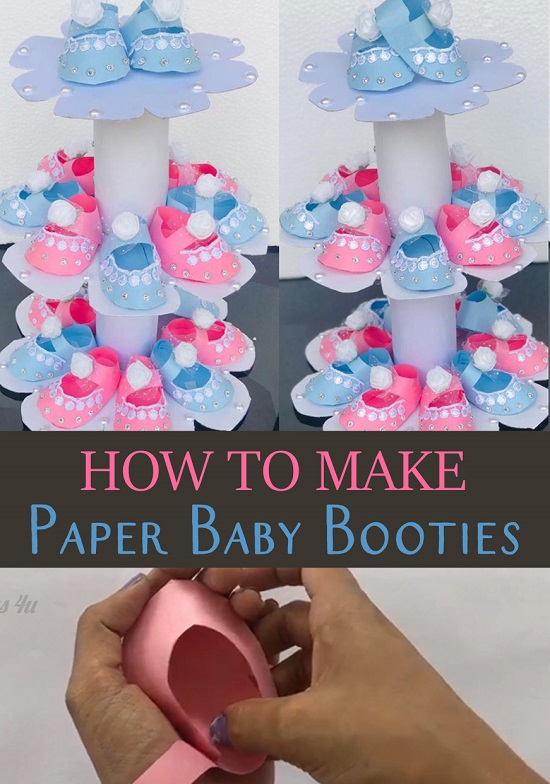
Cupcake topper
Straw Flag Toppers
Cupcake Wrapper
Party Hat
Popcorn Cone

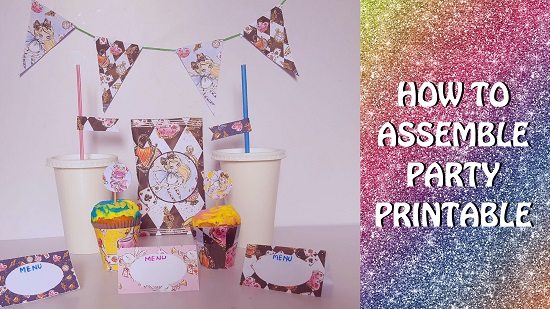
How to Assemble Basic Party Printables
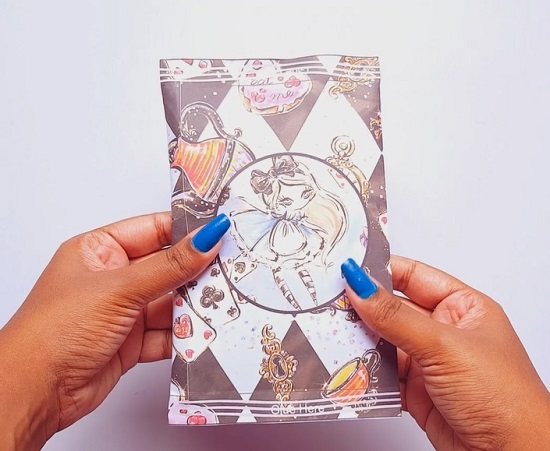
In this video, we are going to show you how to assemble a basic Alice in Wonderland party printable from Magical Printable; banner, cupcake topper, straw flag topper, and menu labels.
Type of Paper DOES Matter!
So, what type of paper should you be printing these printable on? Surprisingly, when a printout doesn’t turn out as well as you expected, such as the colors printing out dull or pixelated, it is most likely that it is NOT your printer’s fault. What we need to remember is that the quality of the paper makes a huge difference. For a full-colored printable, I always recommend using a smooth and bright white cardstock that is also heavier than regular papers. I normally use no less than 150gsm or 100lb.
Adjust your Printer Setting
Unfortunately, it is not just about the type of paper you need to worry about. There’s also the printer. You may need to adjust your printer setting. If you are not tech-savvy, this can be a very tricky task. With so many brands with its own settings, it certainly does not help! What I normally do is this. I just go through the basic setting as well as the advanced setting and ensure they somewhat make sense. If there’s an option to choose quality, which most printers do, make sure to choose ‘maximum quality’ or ‘best’ and ensure you are selecting color! See below to learn a little about basic printer setup.

Printing Correct Paper Size
Last thing we want is for the printable to be printing the wrong size! This is a very common issue. Some printers will remember the last setting you used from your last printing job and this may not always be what you need now.
First thing you would want to check is the “orientation” or layout. Landscape or Vertical. Choose the correct orientation here.
Second thing to check is the page setup. If you are using 8.5×11″ papers, ensure that you have selected this size in this section. Unfortunately, not all printers accept the paper size you may have in hand, and sadly, this can make your life a lot harder. If this is the case, you may need to play around with the paper size option which I’ll explain a little more in the next point.
Lastly, in the paper size option, there may be options like ‘shrink’, ‘fit’, ‘custom scale’ and such. Ensure you are selecting ‘original’ or ‘actual size’. Most printable you purchase would want you to print its actual size. You should not be needing to use other option unless if your printing doesn’t have the paper size that you have in hand. When this happens, I normally choose ‘fit to page’ and this may mean that it may not print the actual size of the file, but the printer would try its best to fit the image to the paper size you selected.
How to assemble Cupcake Toppers

What you need: printable, scissors, toothpick, and glue.
Step 1: Print the printable
Step 2: Cut the toppers to size. Either square or circle, your choice.
Step 3: Apply glue on the top part of the toothpick and gently place the first topper on. Place the second topper on the back side.
Step 4: Place the topper on the cupcake!
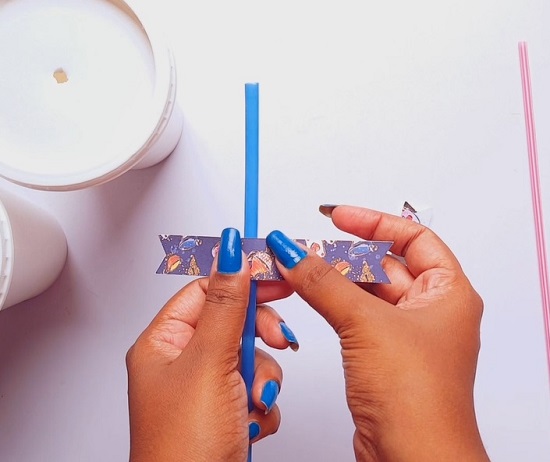
How to assemble Straw Flag Toppers
What you need: printable, scissors, and glue.
Step 1: Print the printable
Step 2: Cut the flag toppers to size.
Step 3: Position the flag on the straw and secure with glue


How to assemble Printable Banner
What you need: printable, scissors, stapler, and yarn.
Step 1: Print the printable
Step 2: Cut the banner flags to size
Step 3: Fold down the top part of the flags
Step 4: Place the yarn over the folded section
Step 5: Secure the yarn with a stapler


How to assemble Chip Bag
What you need: printable, scissors, and glue.
Step 1: Print the printable
Step 2: Cut the chip bag to size
Step 3: Place a mini chip bag inside the printable. So that we know it would definitely fit!
Step 4: Follow the lines of where to glue. This would be the top and bottom and the edge.

How to assemble Tent Food Labels
Step 1: Print the printable
Step 2: Cut the labels to size
Step 3: If you are wanting the labels to sit on the table, fold them down so it becomes a “tent” style. Otherwise, you can just cute at the line in the center and use them a flat card. This is your choice.